Recently I was browsing the aisles at a local discount store looking for treasures. I happened upon a small box in a color I can only euphemistically call Pepto Bismol Pink. A phrase on the top of it said 'Beautiful'. No wonder this unwanted orphan was on the death row of aisles, The Clearance Aisle, aka the 75-90% Off Aisle. For $1.39, I decided to take it home.
Now what?
It sat there. Staring at me. 'I'm already beautiful. See, it says so," it taunted.
So I painted it green.
Yikes, that didn't help matters. I planned on using this little box as storage for words/sentiments I had in my stash, and I needed some inspiration.
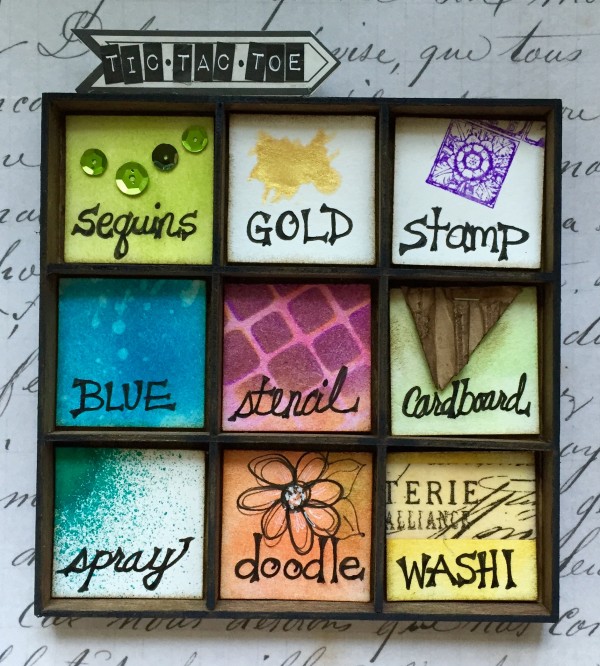
For the Simon Says Stamp Challenge, I chose the top row: Sequins, Gold, Stamp
I covered the green I had carelessly applied to the box with white gesso and Prima's Modeling paste through an old stencil I had on hand. Prima's Art Alchemy Steampunk Copper and DecoArt's Champagne Gold came next as a base layer followed by Lindy's Bayou Boogie Gold and Clam Bake Beige sprays.
While my base was drying, I made my bees out of Polymer clay; baked them, painted them and glued them to wing nuts for wings. I'm a bit afraid of bees (read, terrified), so making them 'winged nuts' was a psychological bandaid to my illogical (or so I'm told) fear. I also made flowers from scrapbook paper, foil and netting using Tim Holtz 'Tattered Florals' die and a Sizzix Big Kick machine. I painted the paper and foil flower layers with the same paints and sprays used on the box plus Lindy's Burnt Umber; smaller florals and greenery were created by painting blooms from my stash.

Since this project will be a storage box for words and sentiments, I decided to make my bees 'spelling bees' by stamping and embossing letters on the box. I used the Stampabilities Typewriter Background Stamp, Ranger's Clear Distress Ink and gold ZING! embossing powder. Continuing in the 'spelling' theme, some of the flowers have a petal layer cut from text.

I adhered the components, including a honeycomb I cut out of cardstock and painted with Prima's Art Alchemy Steampunk Copper. The wood frame is painted with DecoArt's Champagne Gold. Gold sequins (honey drops) are scattered here and there on the arrangement.
And one last thing: A honey pot!

Products used:
Prima: White Gesso, Modeling Paste, Art Alchemy Steampunk Copper acrylic paint; DecoArt: Champagne Gold acrylic paint; Lindy's Stamp Gang: Bayou Boogie Gold Starburst spray, Clam Bake Beige Starburst spray, Burnt Umber Moon Shadow Mist; Ranger: Clear Distress Embossing Ink, Perfect Pearls Perfect Gold, Glossy Accents; Tim Holtz: Idea-ology Tiny Vials, Tattered Florals Die, Diamond Plate and Riveted Metal embossing folders
I also used a Sizzix machine, Fimo polymer clay, ZING! embossing powder, Stampablities Typewriter Background Stamp, stencil, DCWV paper, netting, gold sequins, aluminum foil and wing nuts.