Eye Of The Beholder


It’s true that beauty is in the eye of the beholder.
— Margaret Wolfe Hungerford, 1878
It is only with the heart that one can see clearly, for the most essential things are invisible to the eye.
— Hans Christian Andersen, The Ugly Duckling

The other day I came across a picture of a Brahmaea Wallichii.  What's a Brahmaea Wallichii you ask? Why it's a beautiful moth typically found in parts of Asia.  According to the article, it does not fly away when disturbed, but shakes fiercely...much like myself when bothered before my morning coffee.  The distinctive 'eye spots' on its wings are striking as are all its intricate markings.  It's like a flying Zendoodle!  

Now you know the belle of the ball in the insect world is the glamorous butterfly, gliding on a gentle breeze and flitting gracefully among flowers .... rather than beating herself against a lightbulb like our lowly friend, the moth.  Maybe the allure of the nocturnal lightbulb is the moth's attempt to be in the spotlight for once, instead of hiding out in the shadows while the butterfly wows the crowd.  

So, without further ado, here is my latest canvas in which I showcase a moth, for beauty is in the eye of the beholder.


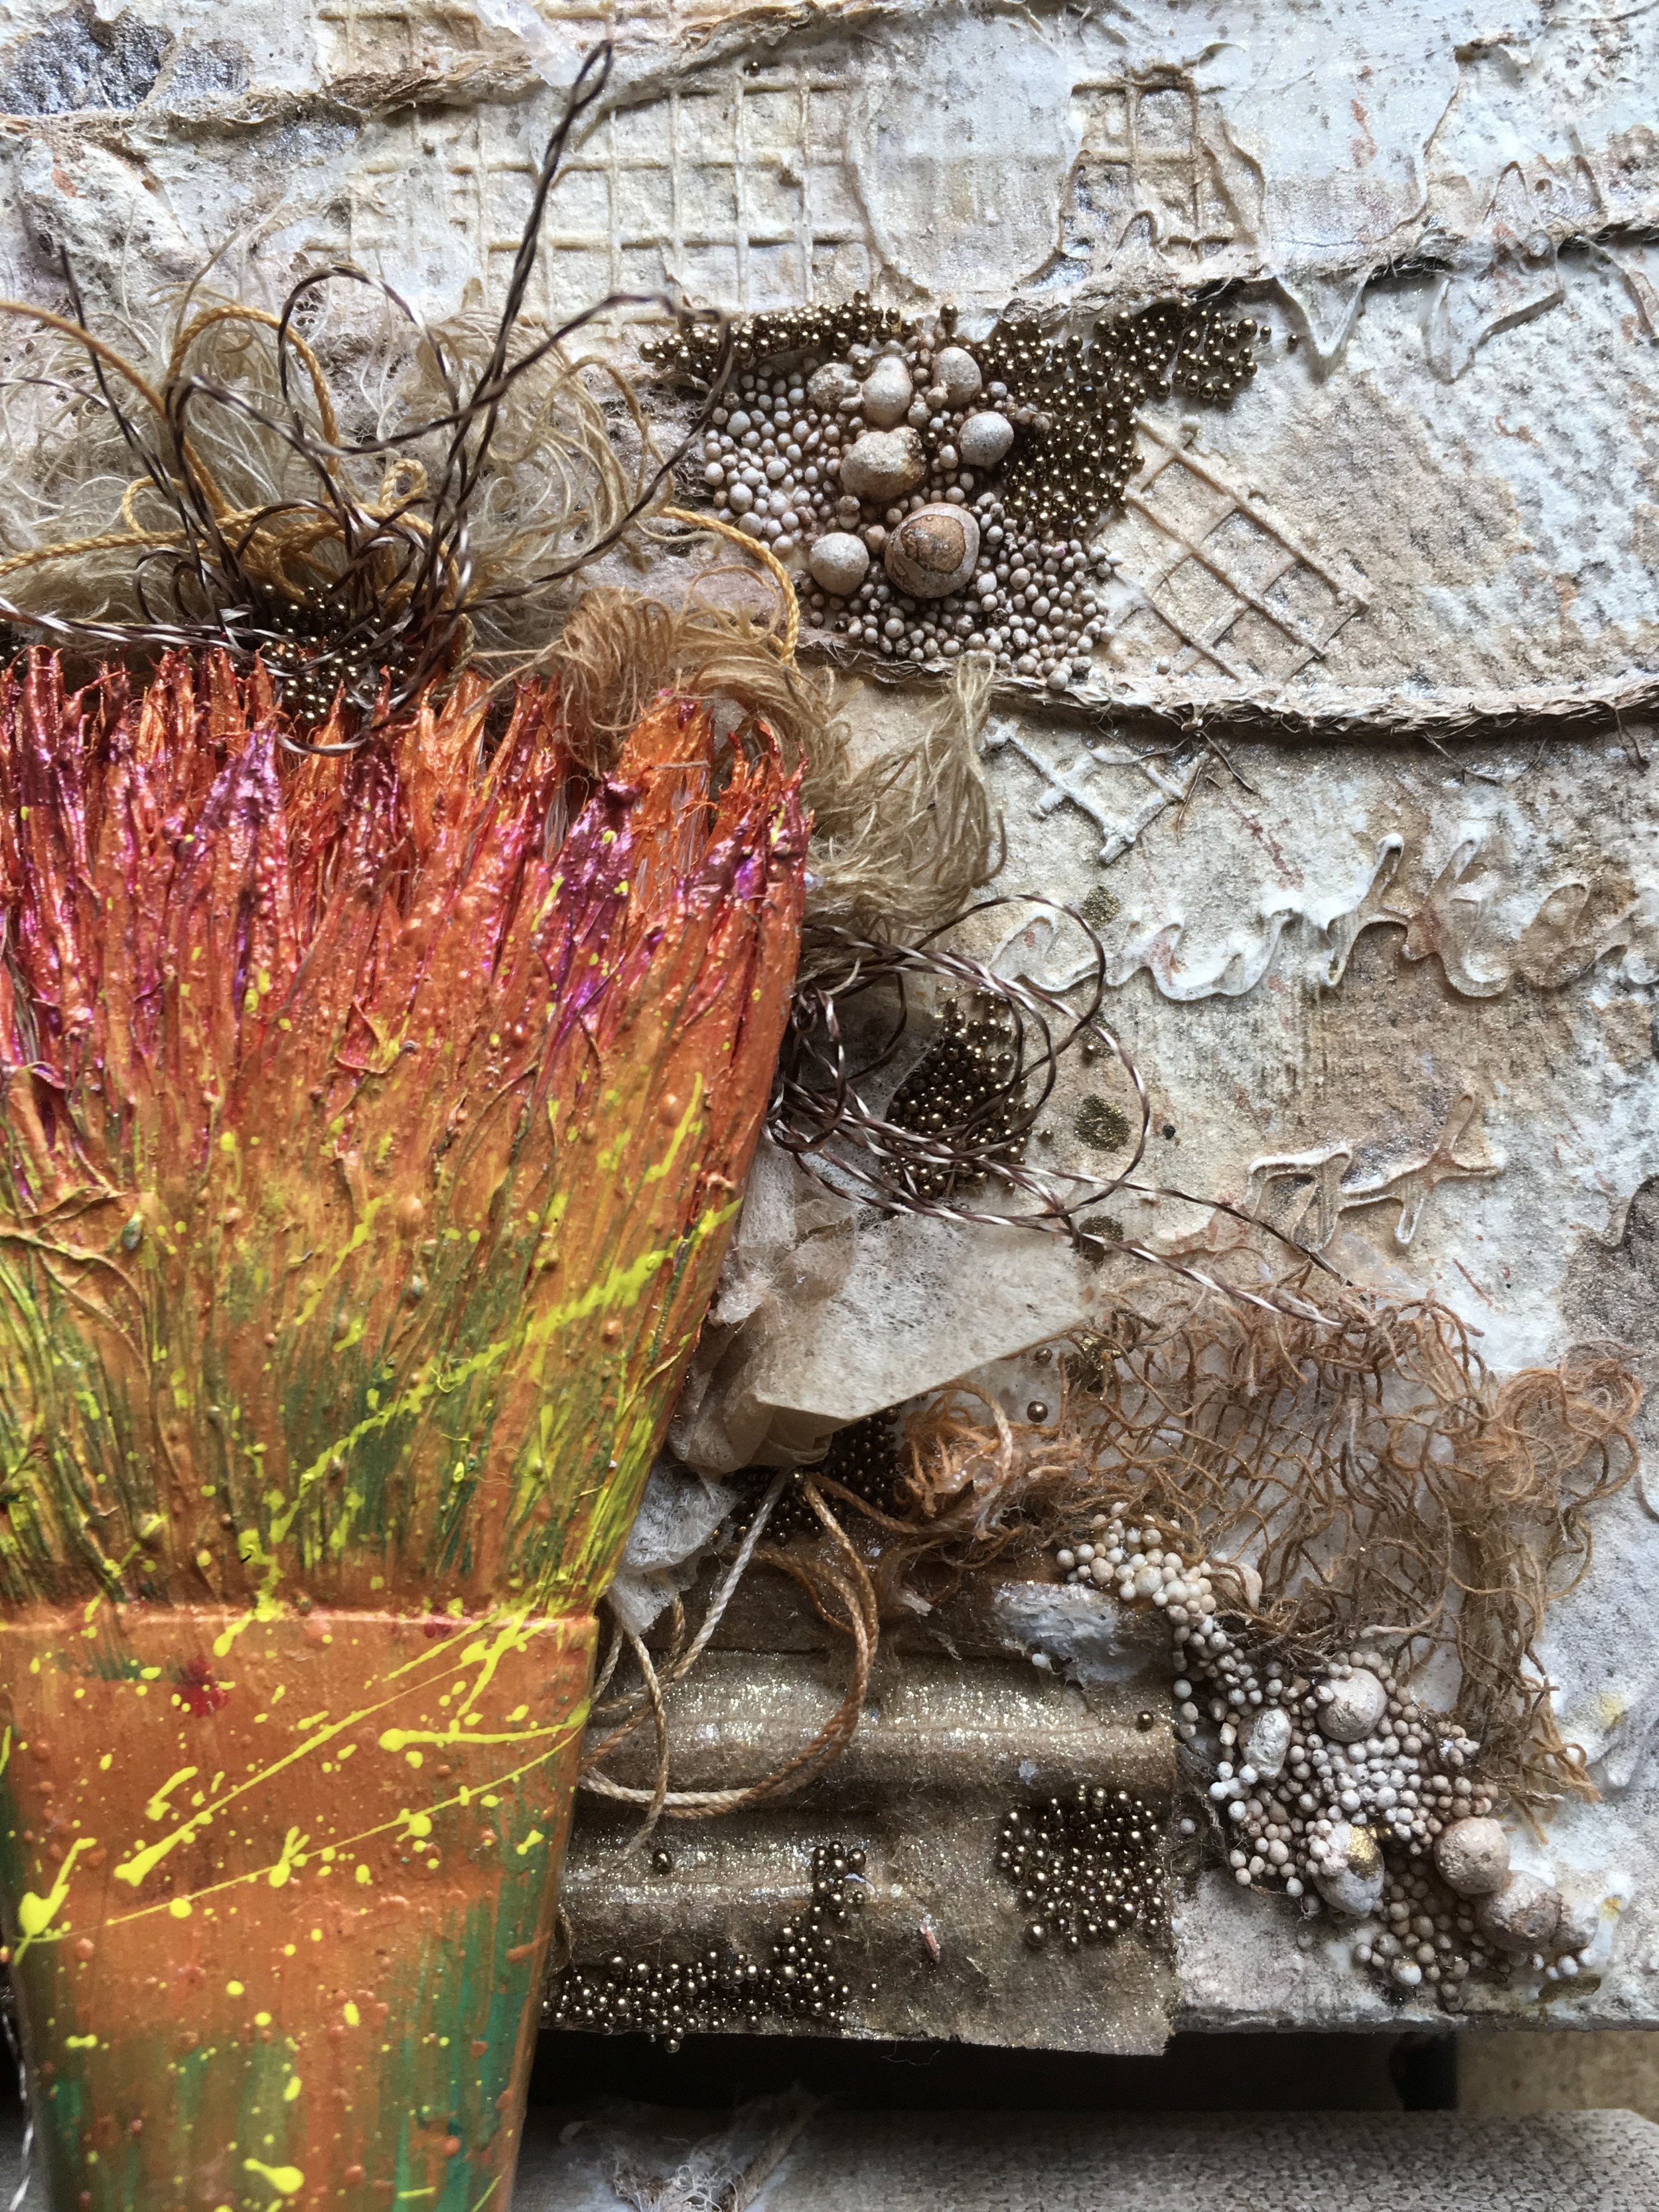
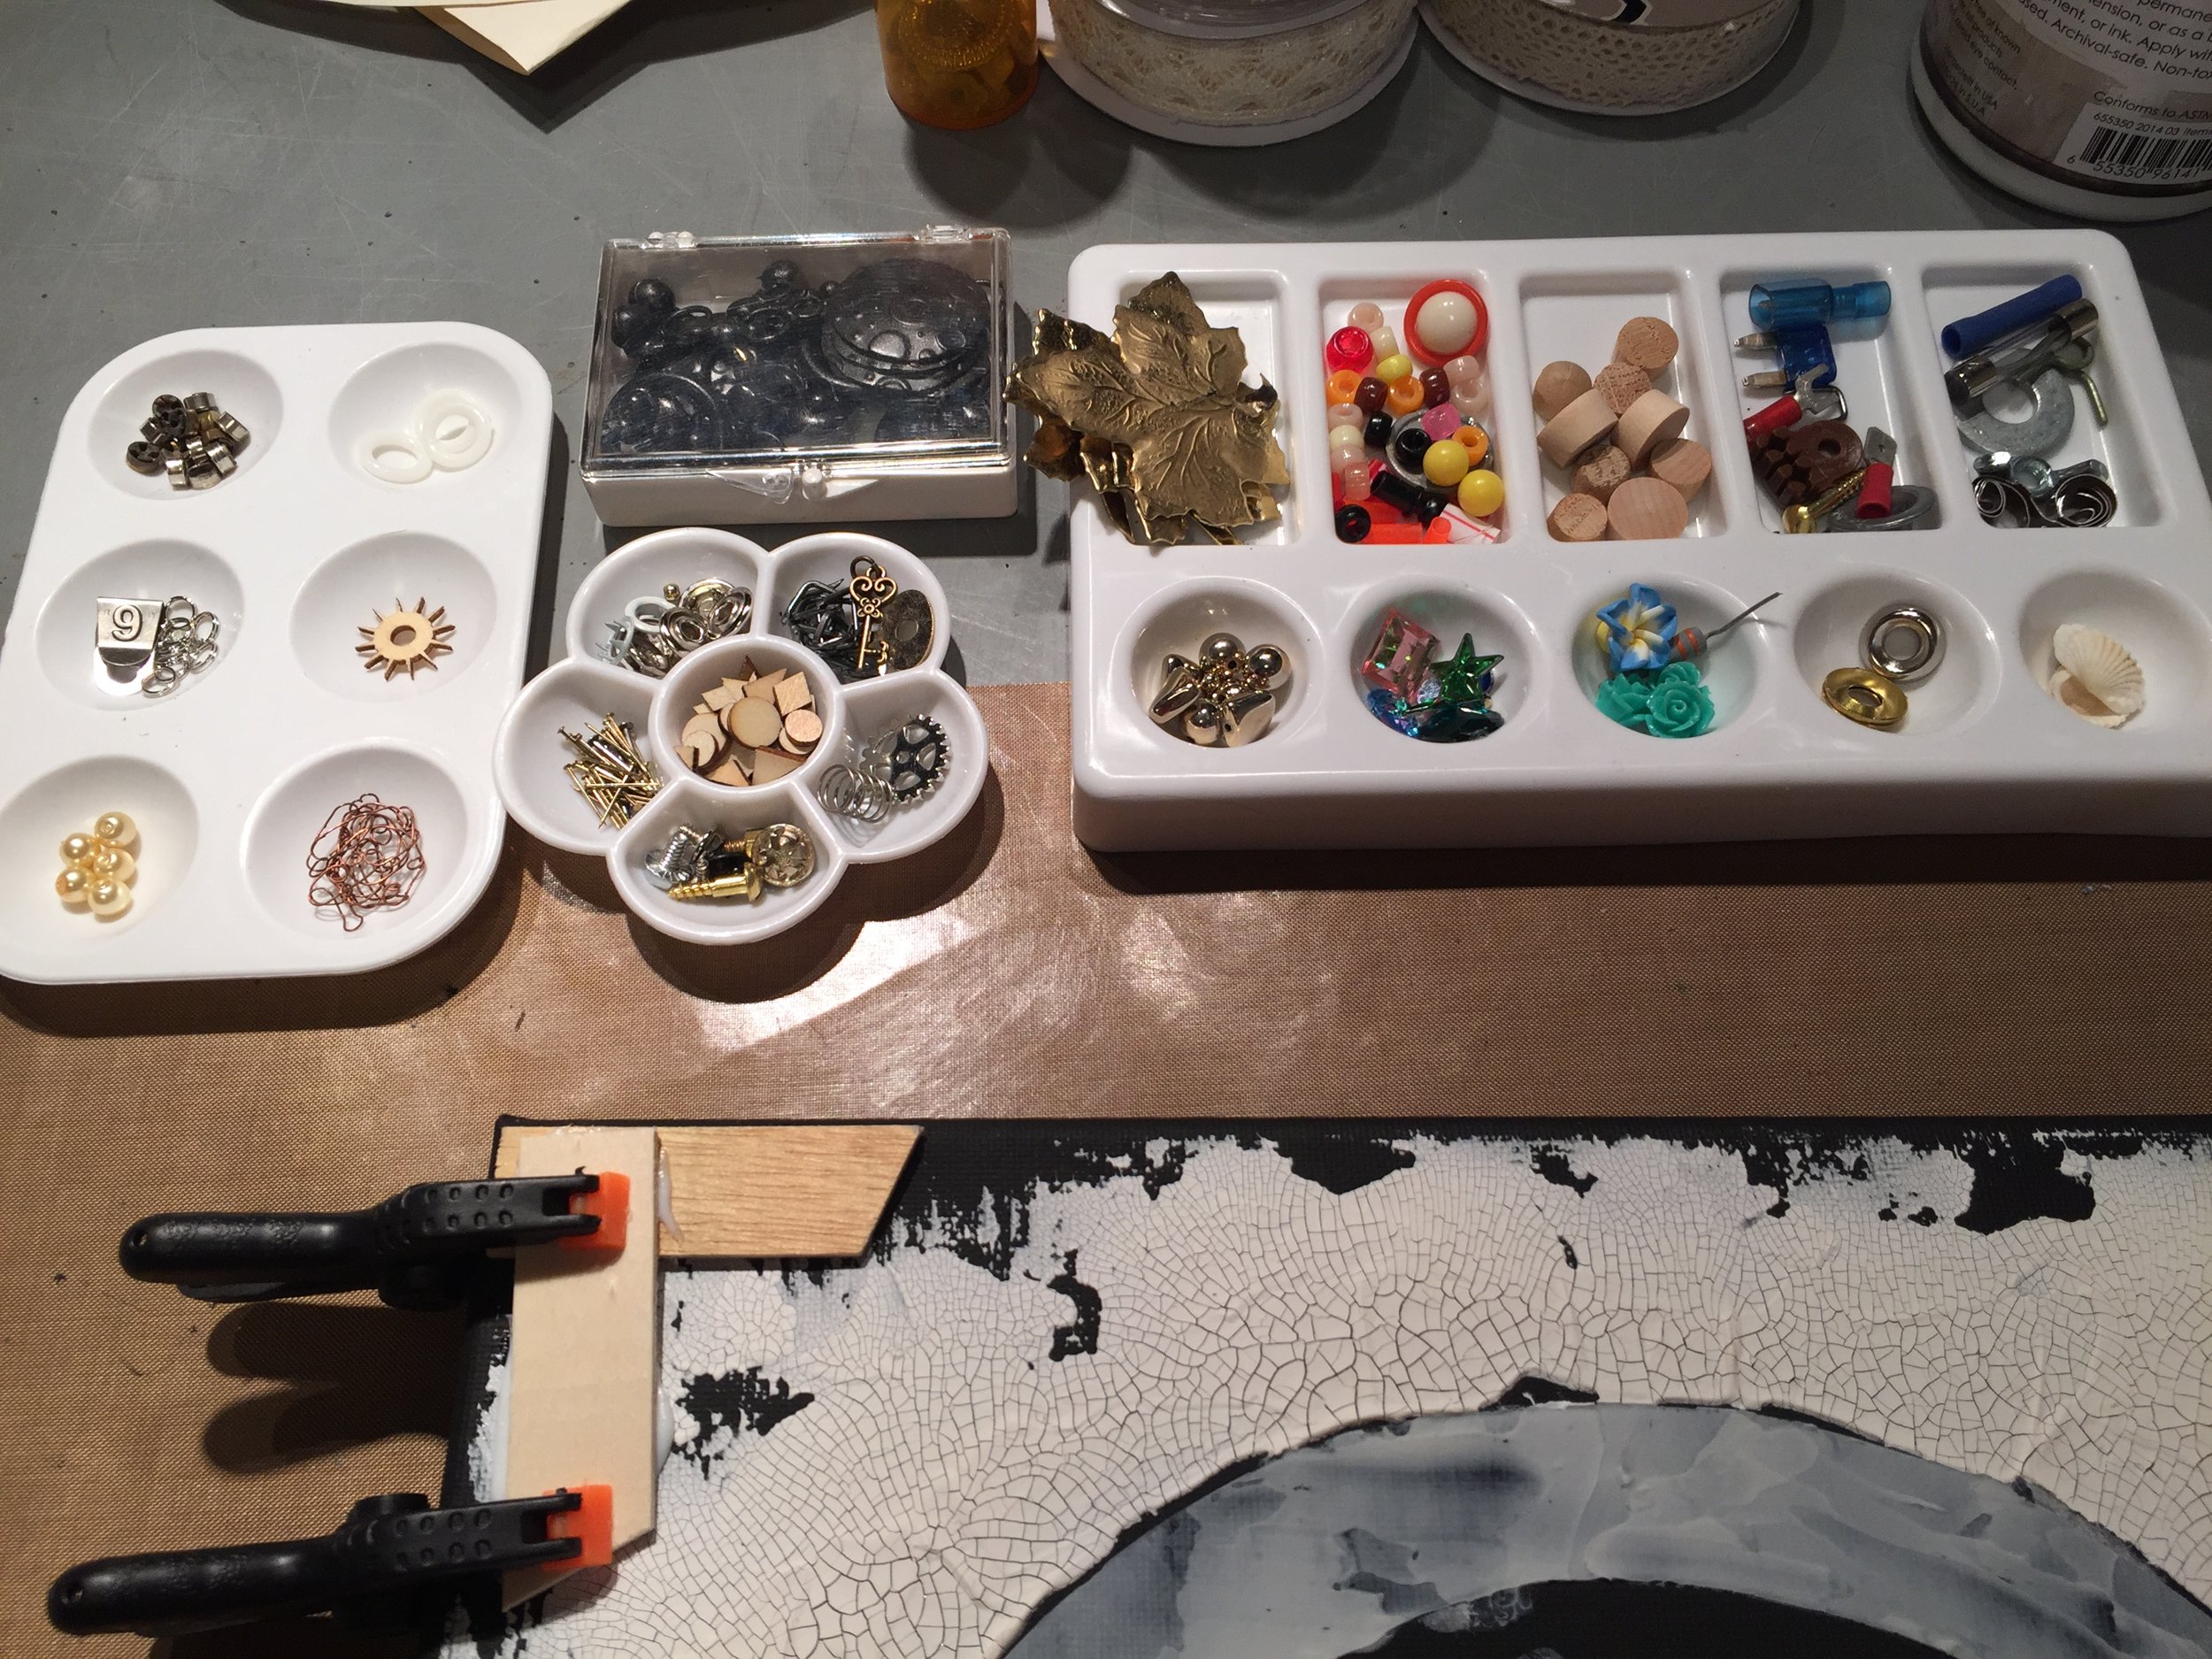
I began by constructing my moth.  Having no experience in moth making, I decided to make a template which I used as a pattern to cut the cardboard. I made a mirrored sketch from one wing to the other and used embossing powder over the pencil lines.  Before I began painting the moth's patterned wings with acrylic, I scrunched some paper scraps and glued these around the wing edges.  The moth's body is also made out of cardboard, but I added some cut up yarn to black paint for a fuzzy appearance.  My two finishing touches were melange discs over the wing eyespots and the antennae made from tiny springs.

IMG_4037.JPG

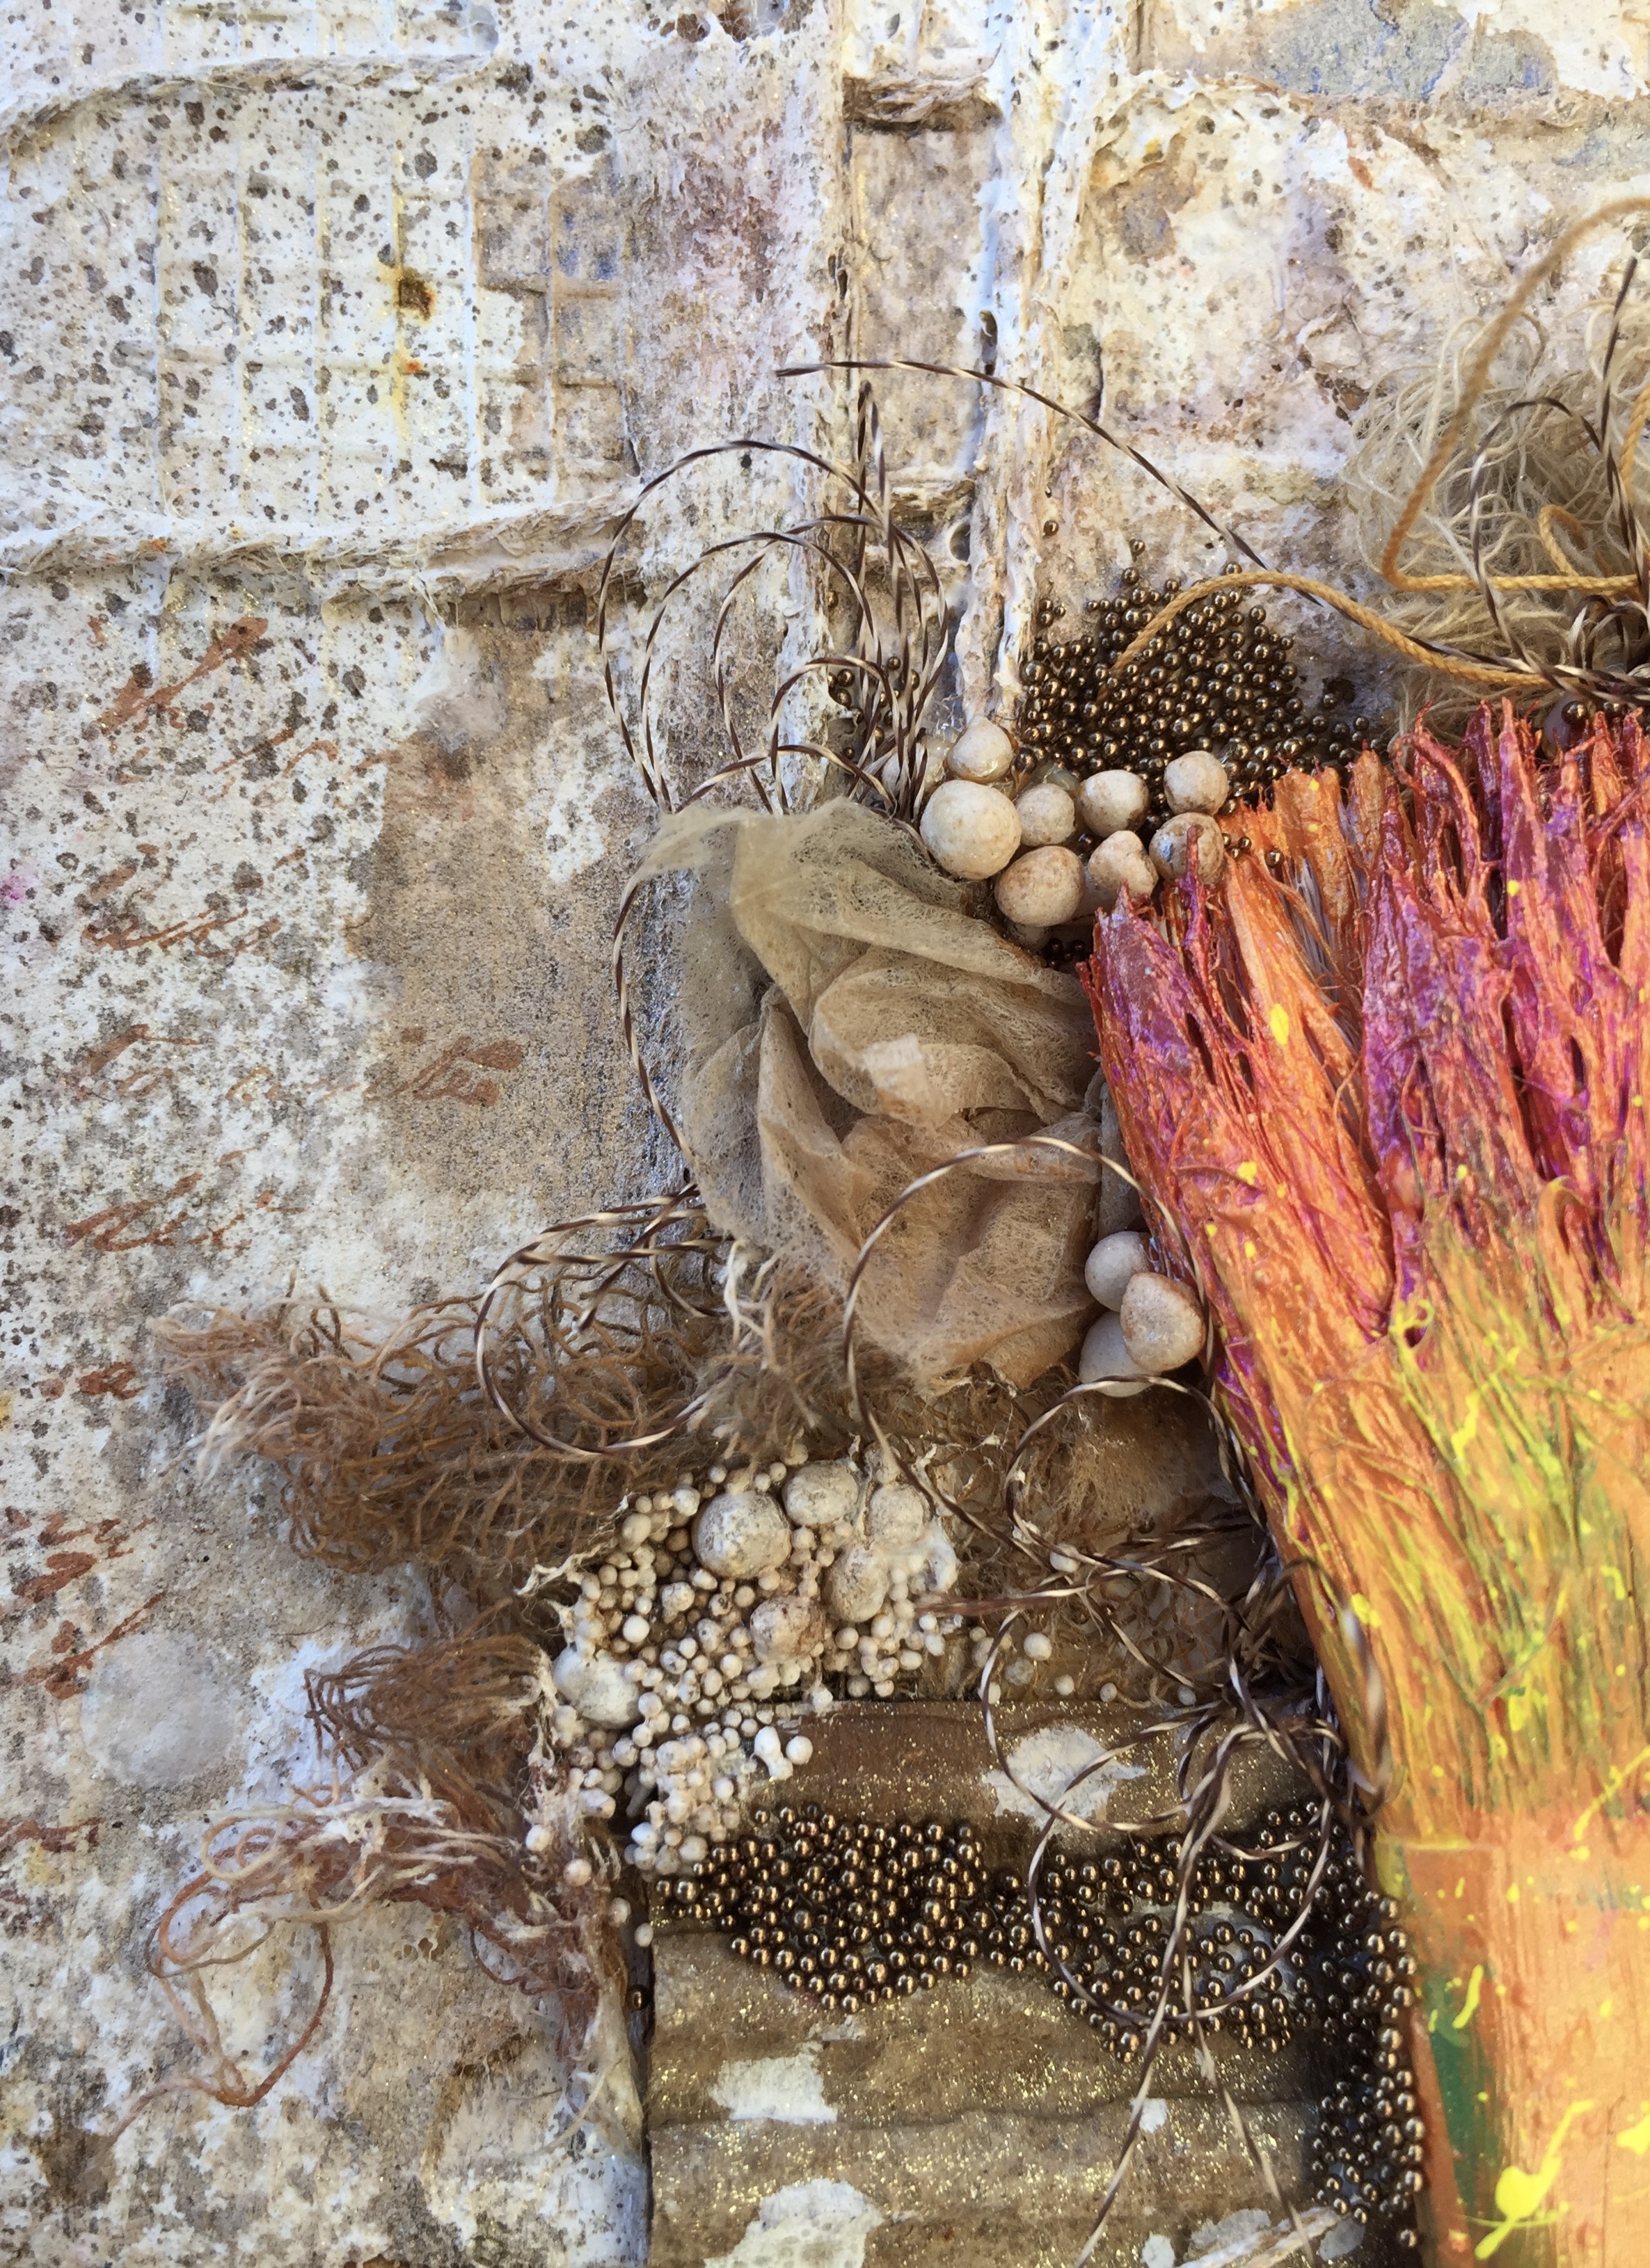
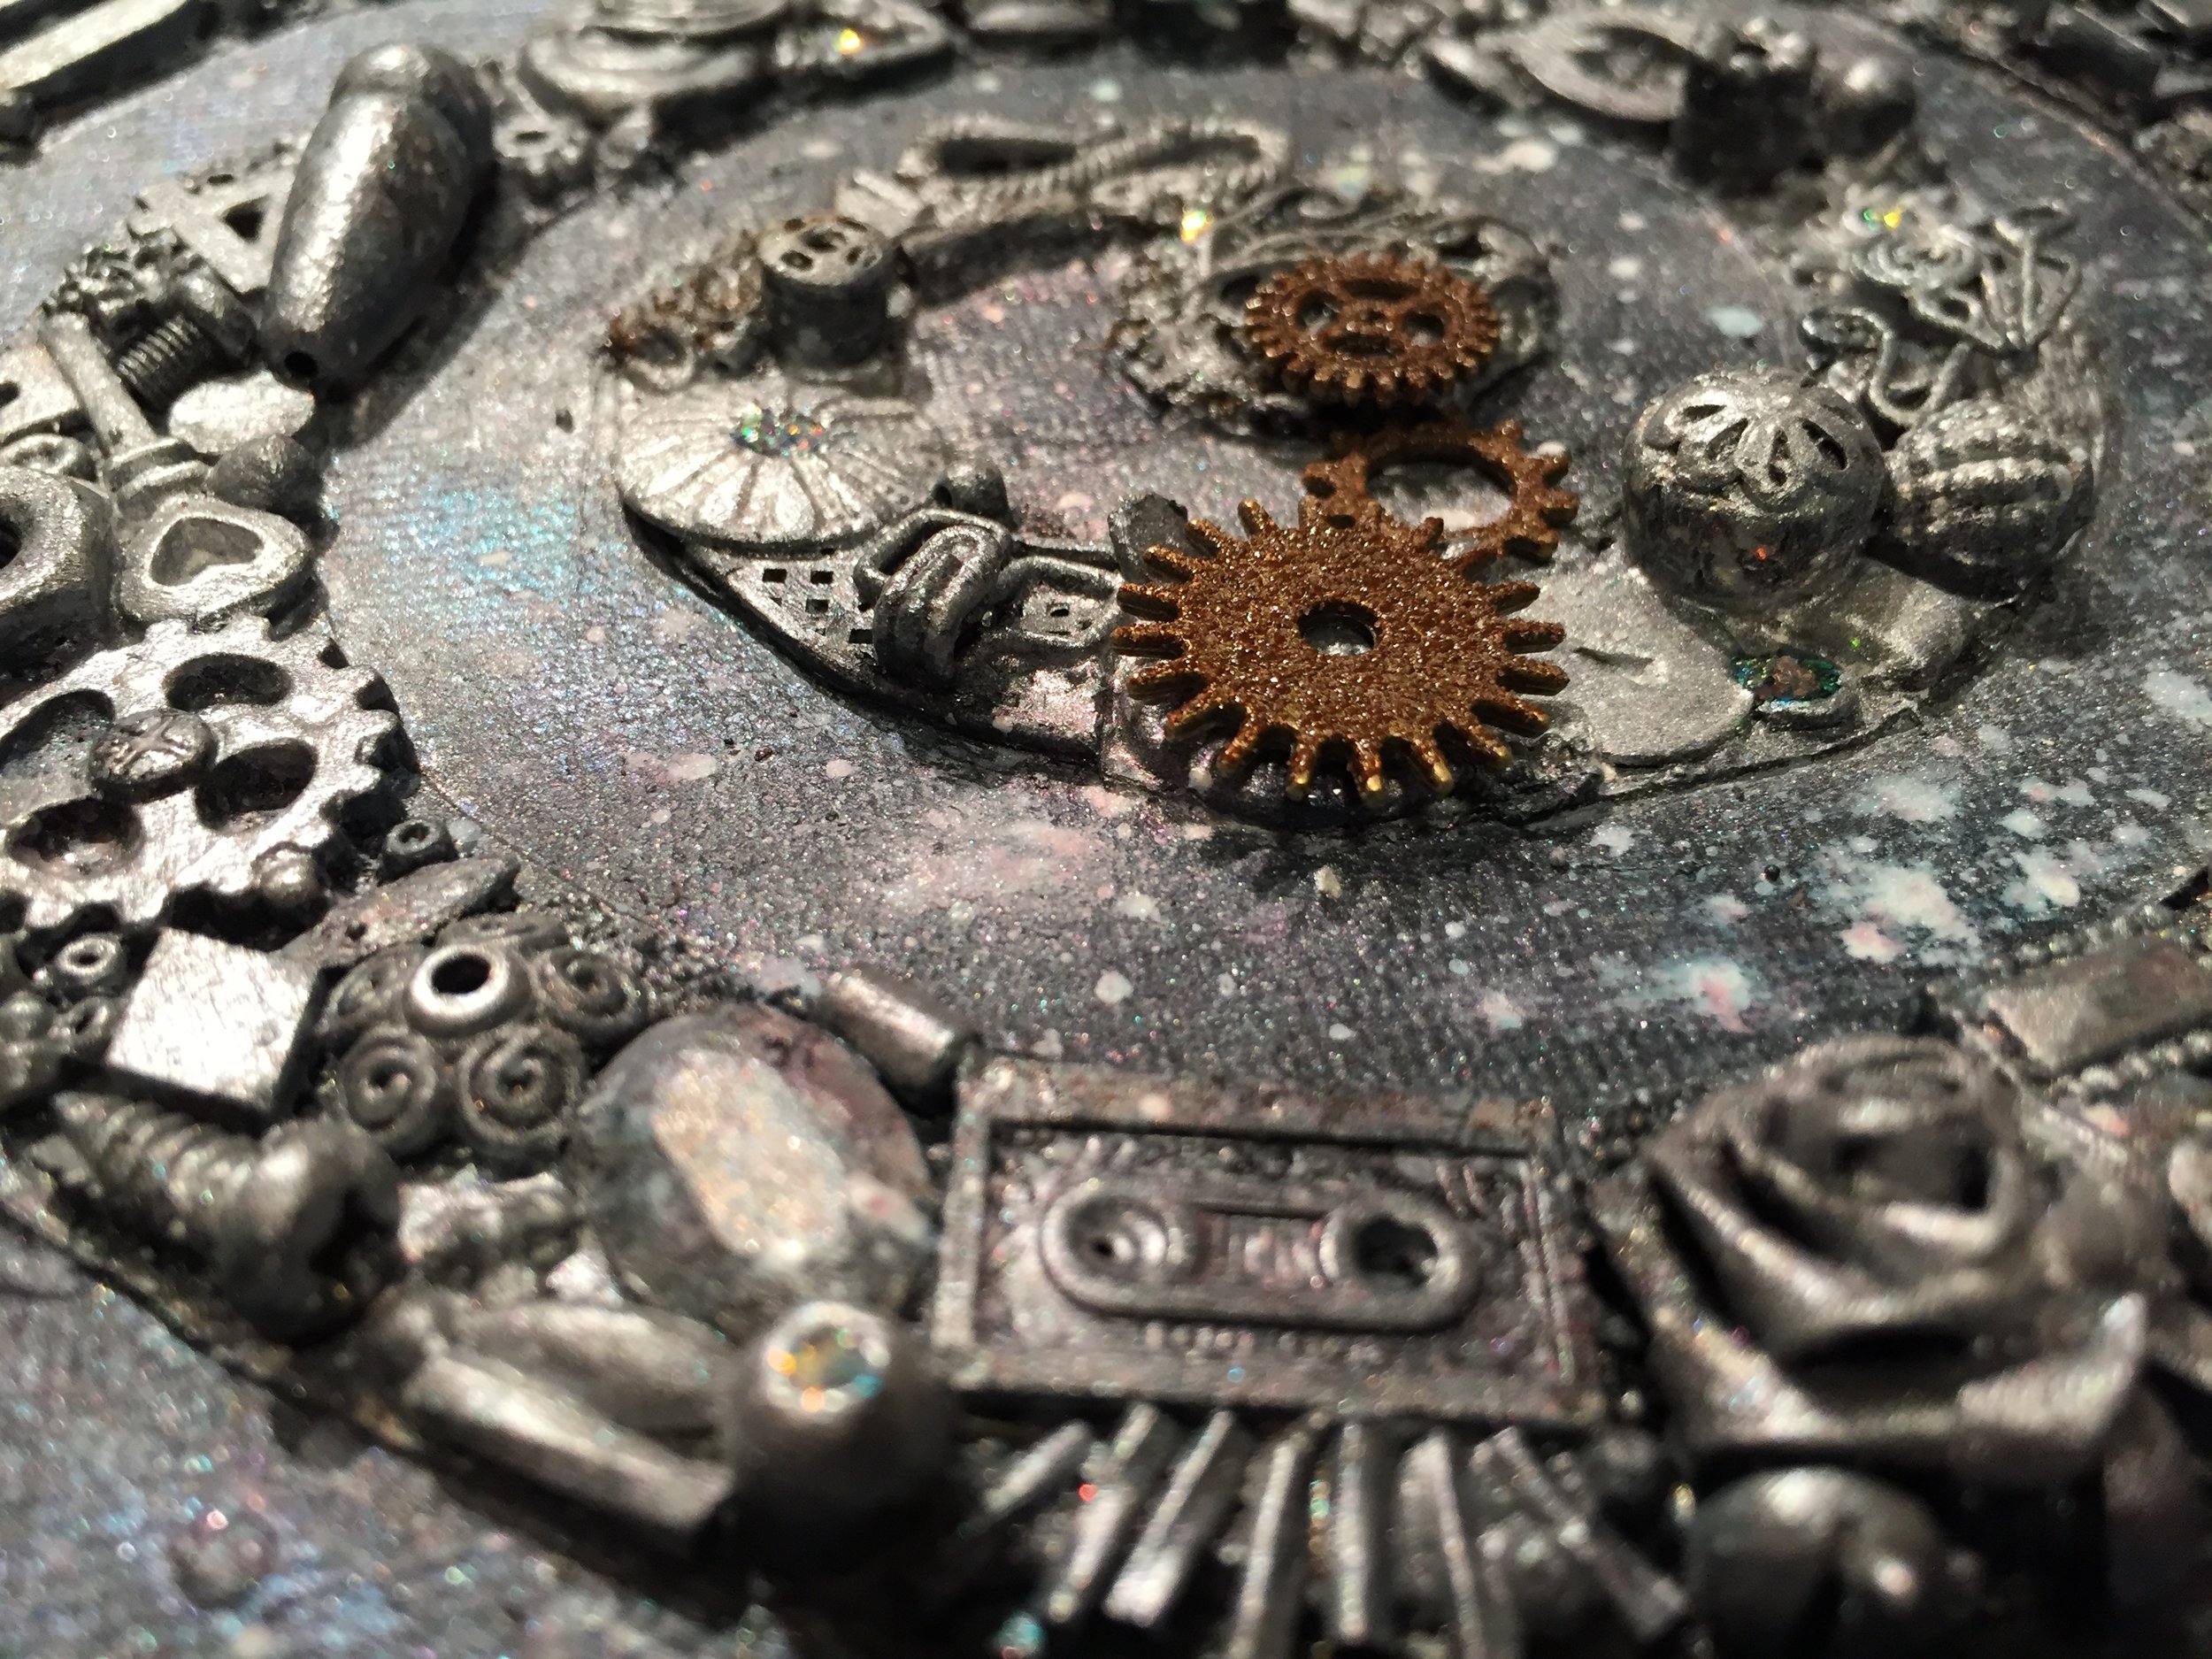
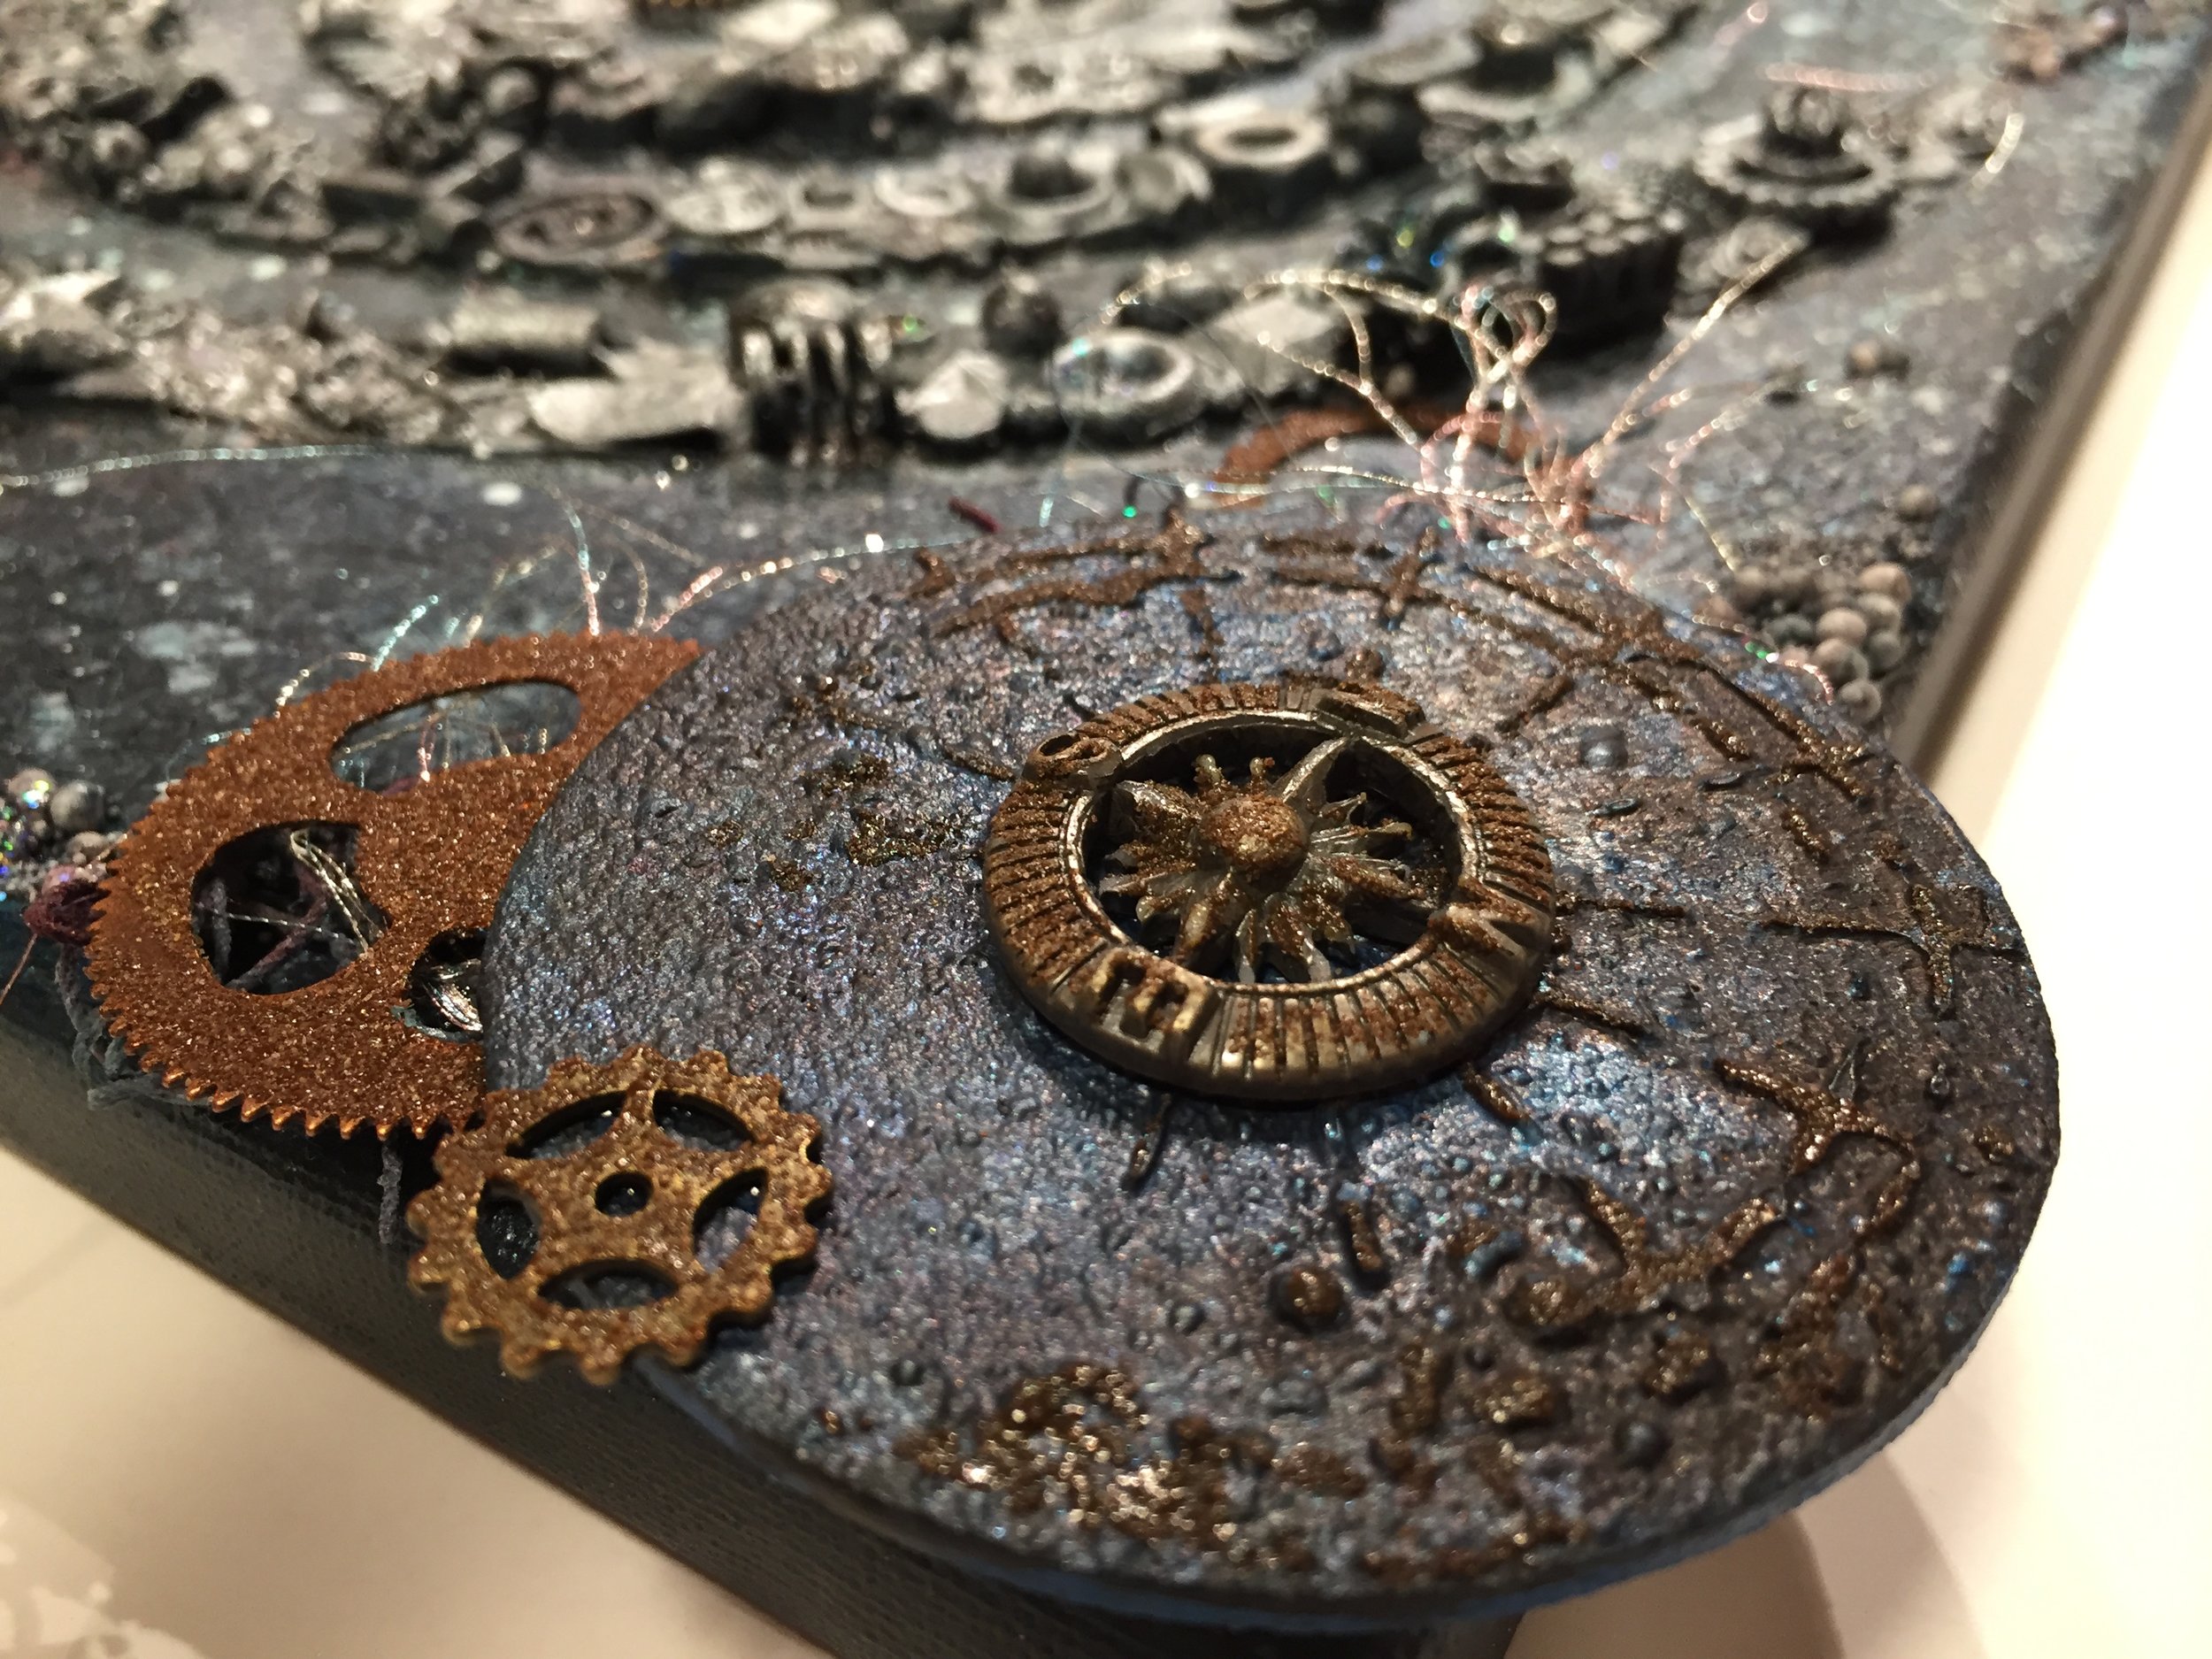
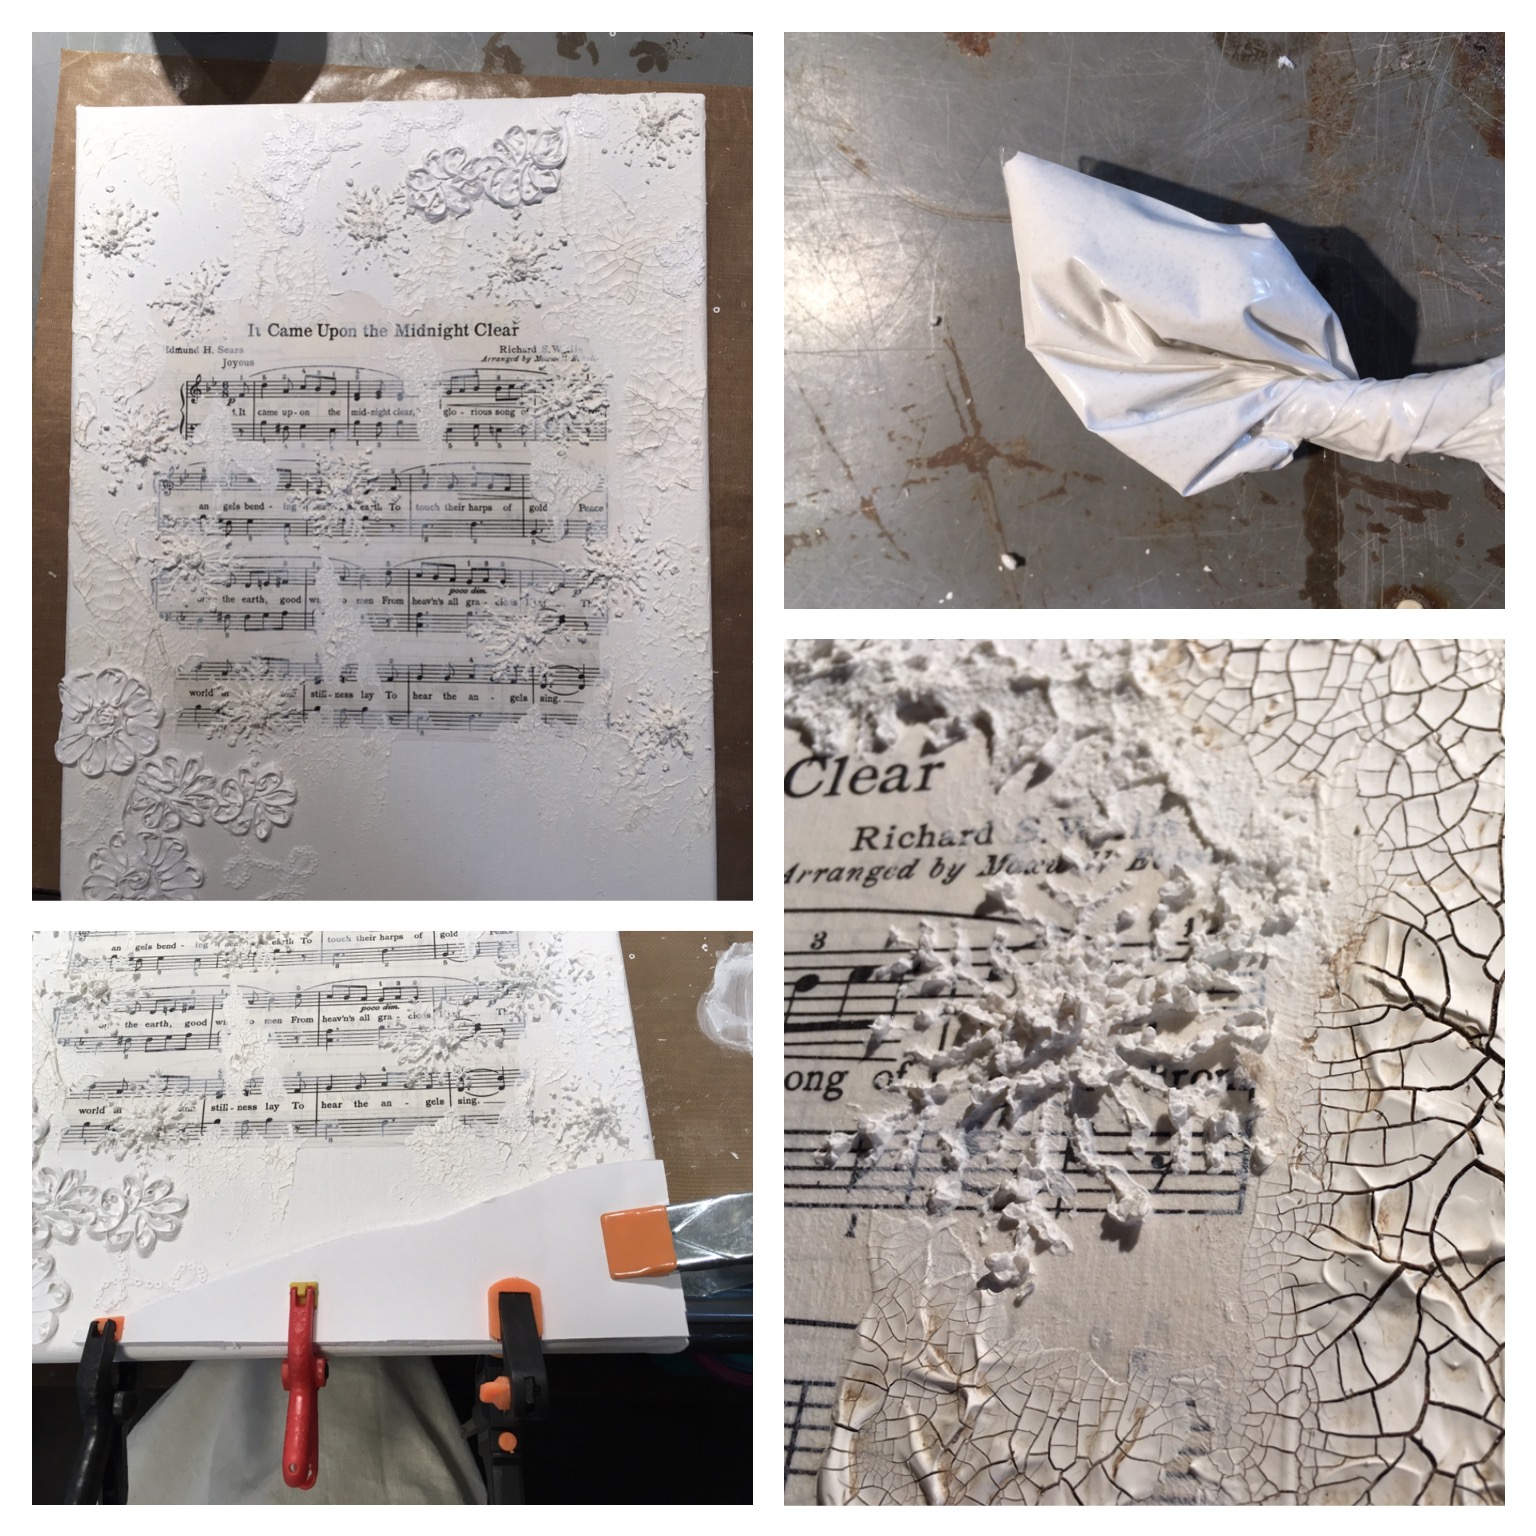
Moving on to the canvas, I coated the entire inverted surface in black gesso followed by modeling  paste through stencils for the initial texture layer.  The second layer consisted of crumpled tissue paper, string, thick felt circles and more stenciling.  Another coat of black gesso was applied (I really need to buy stock in gesso).  Layer three of texture included the corner floral section, mélange discs in various sizes and art stones.  Anybody care to guess what came next?  That's right!  Black gesso!  


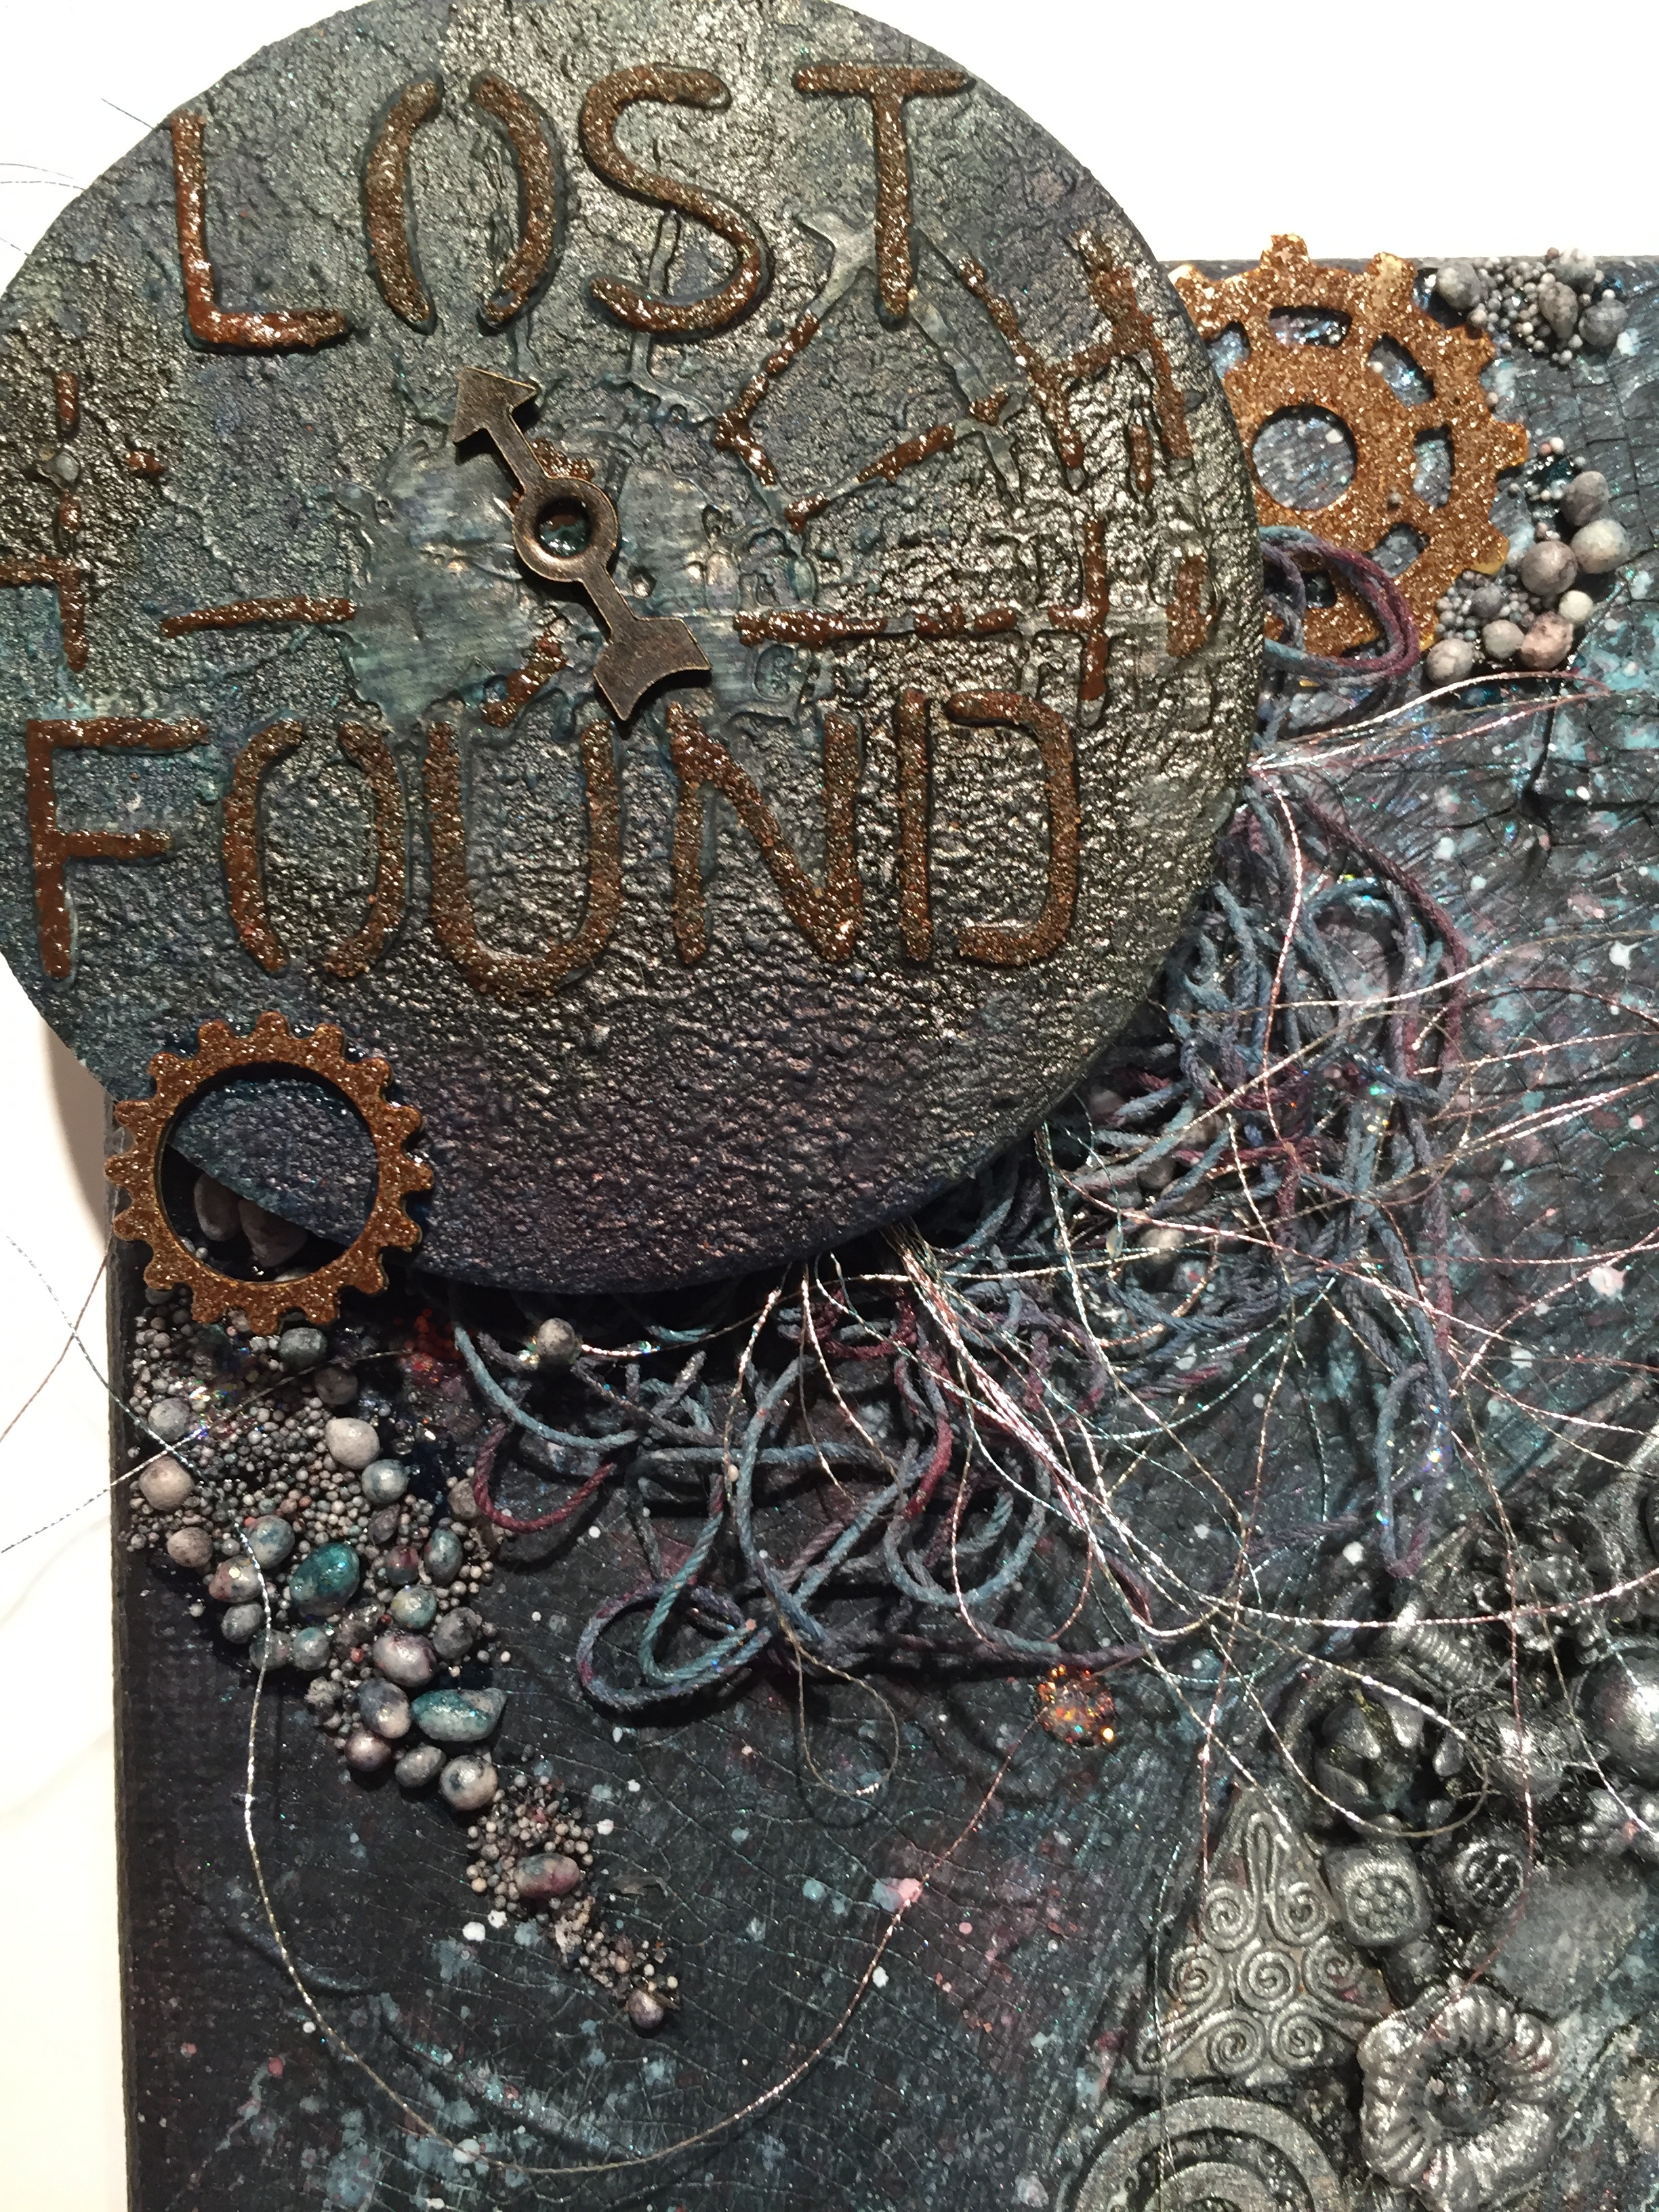
Now for some color, albeit dark color:  black, blue and brown were my choices for the nocturnal background.  However, I also wanted a strong contrast to bring attention to the moth,  so the fourth and final layer was done in light tones.  This montage in the center was composed of twisted paper rolls, inked scrapbook paper, punched paper, a disassembled wooden birdcage and dyed cheesecloth.  I splattered a bit of white paint and sprayed some Lindy's "Whale Watch Blue" before adding my moth to the middle.


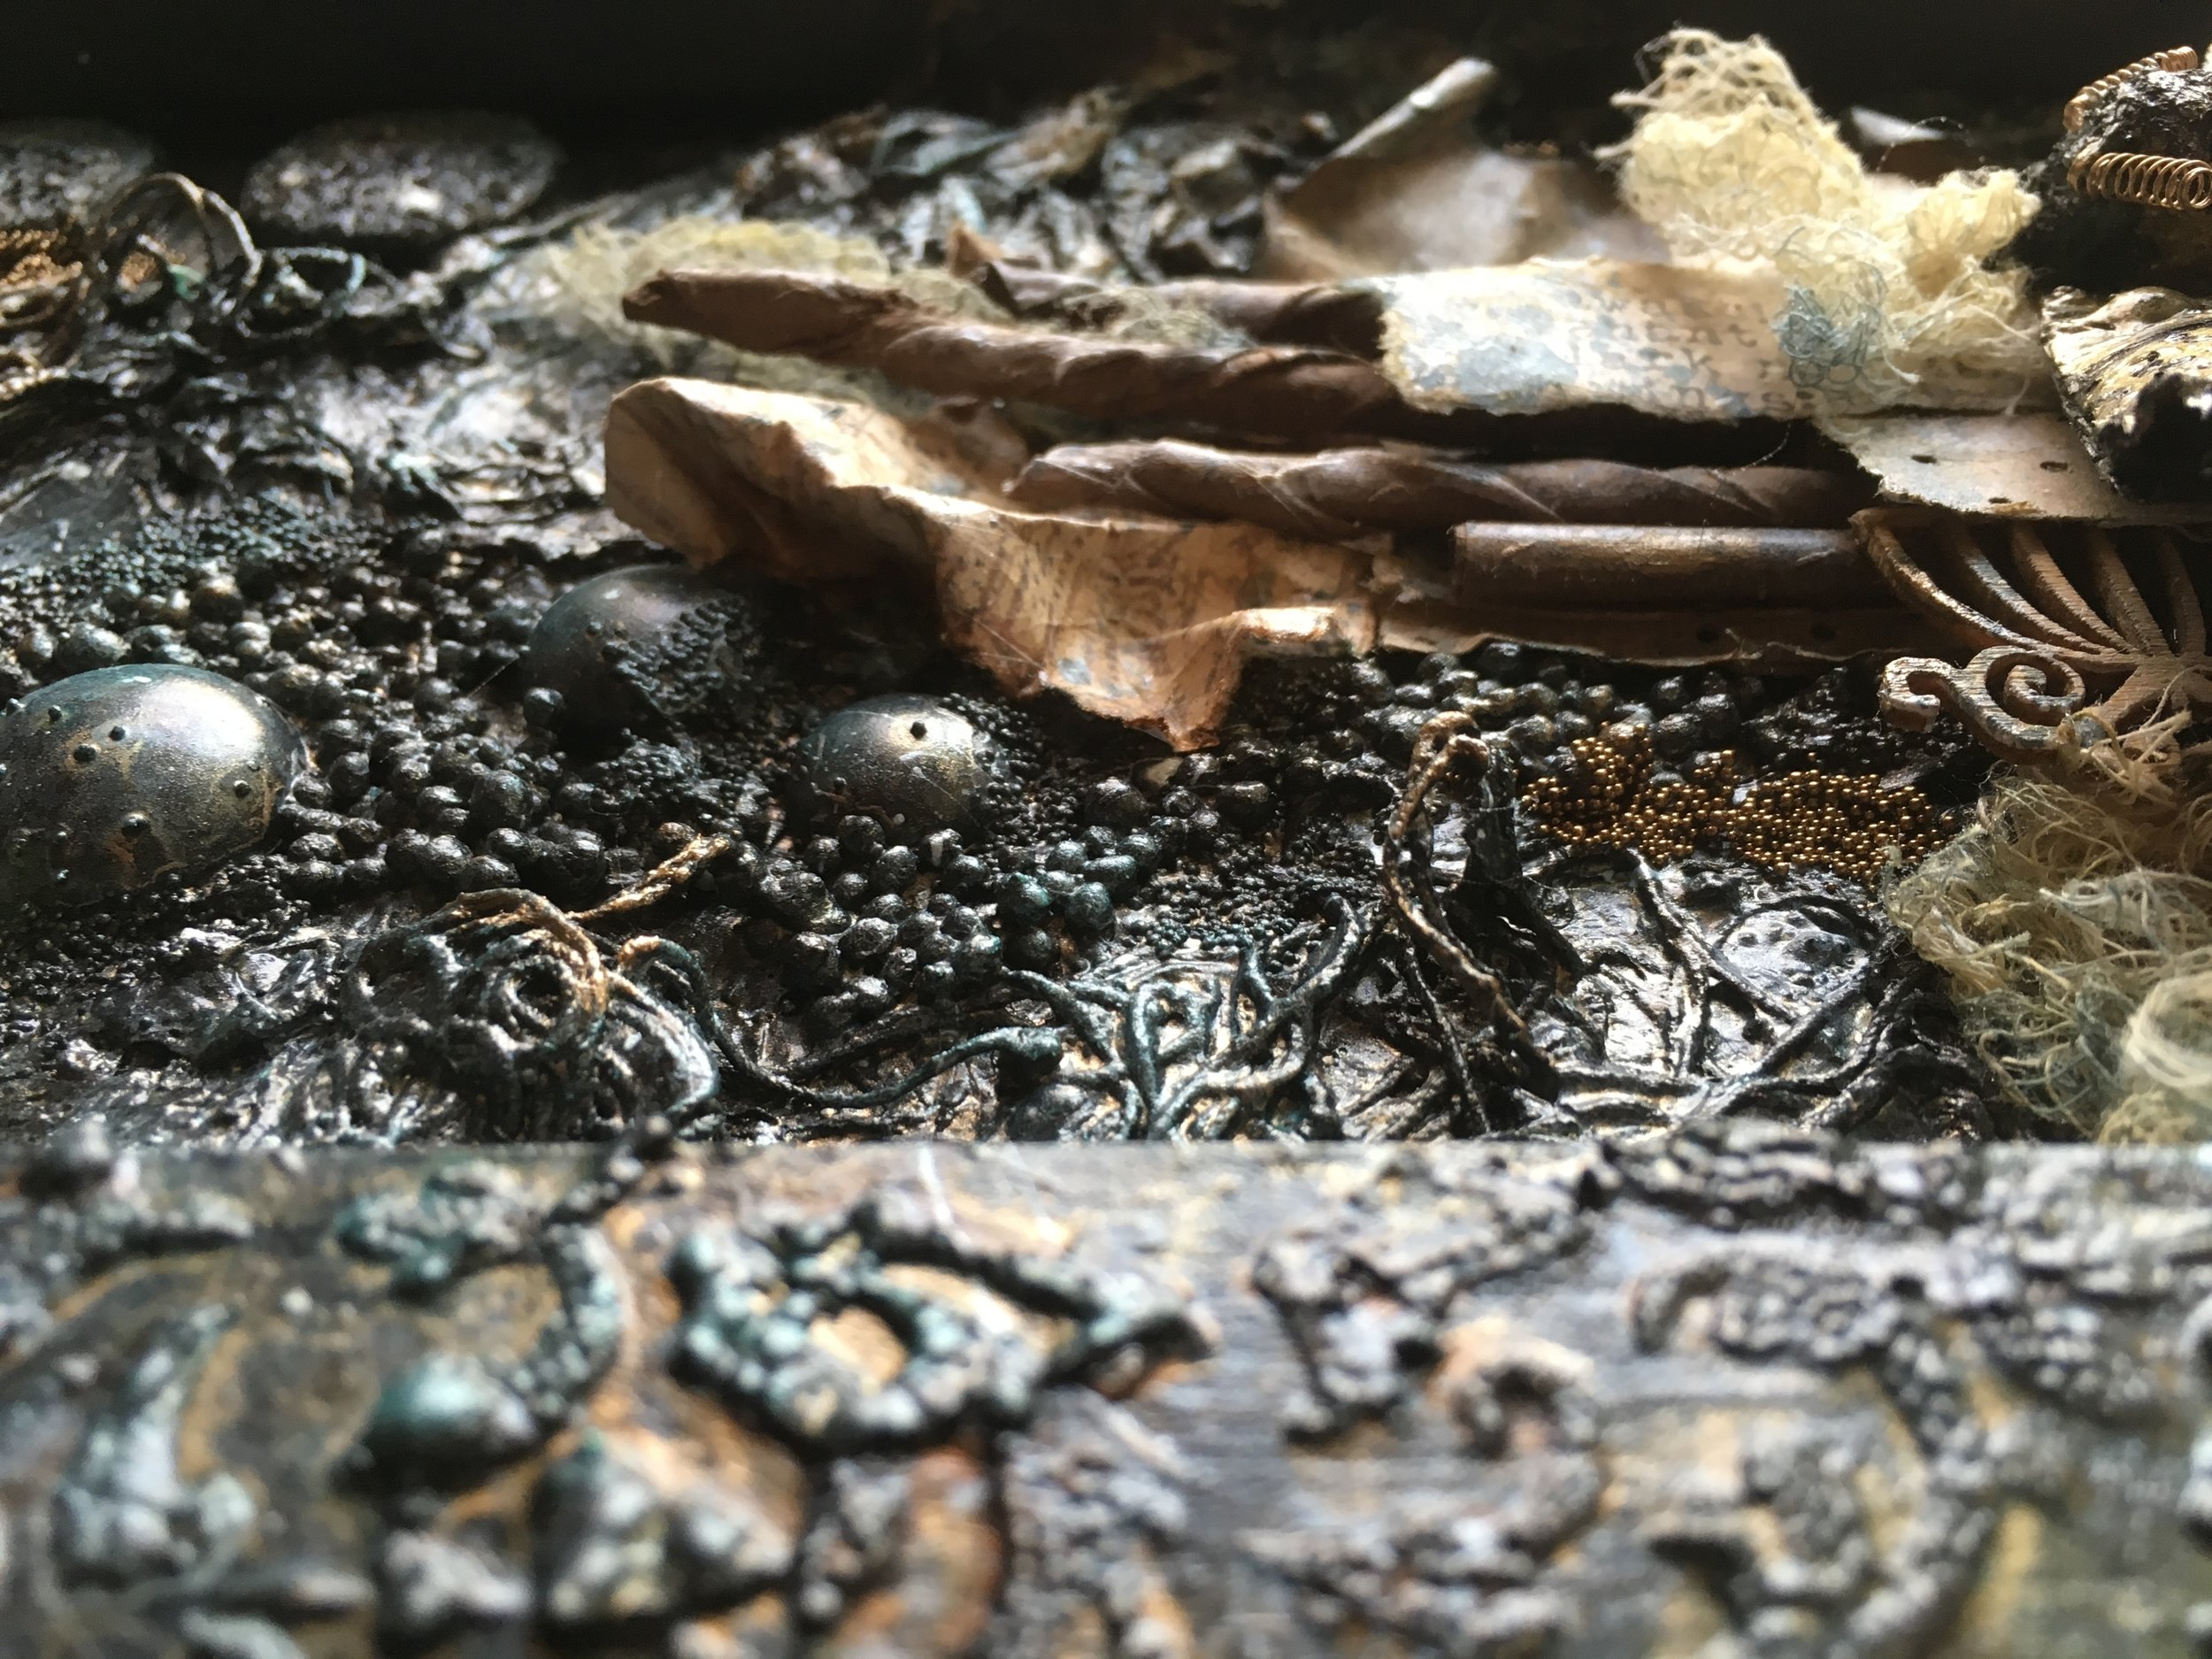
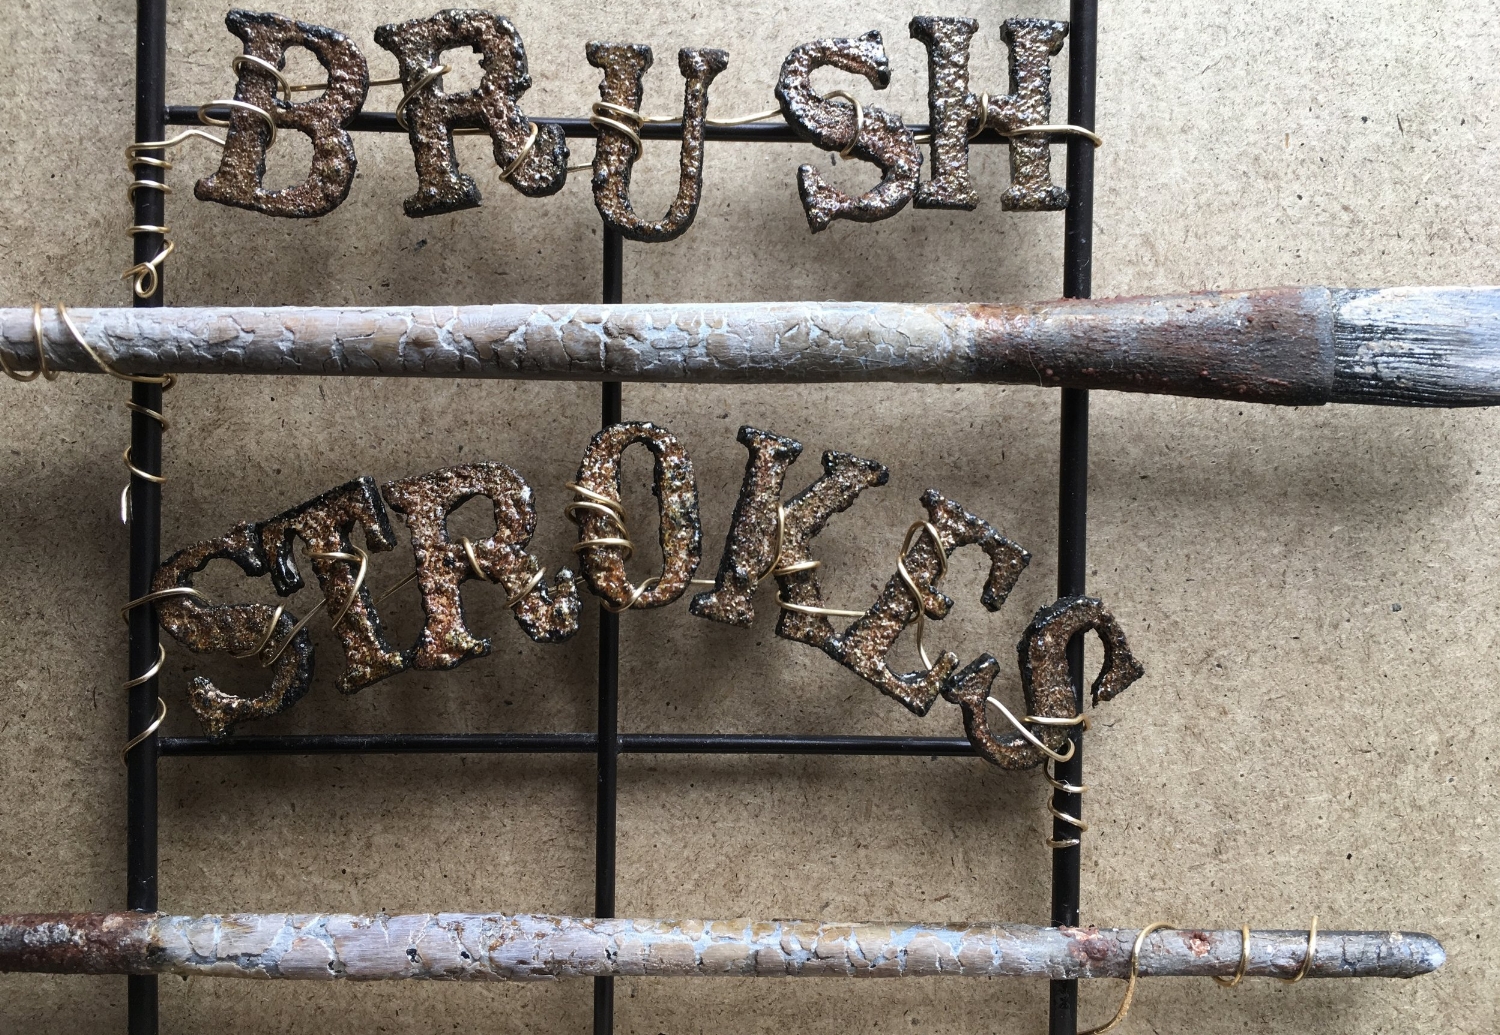
More dyed cheesecloth and bronze micro beads were added here and there followed by the final embellishments:  a lightbulb, magnifying glass, the domed word 'moth' and the phrase 'Beauty is in the eye of the beholder.'

Smiles!

Leslie

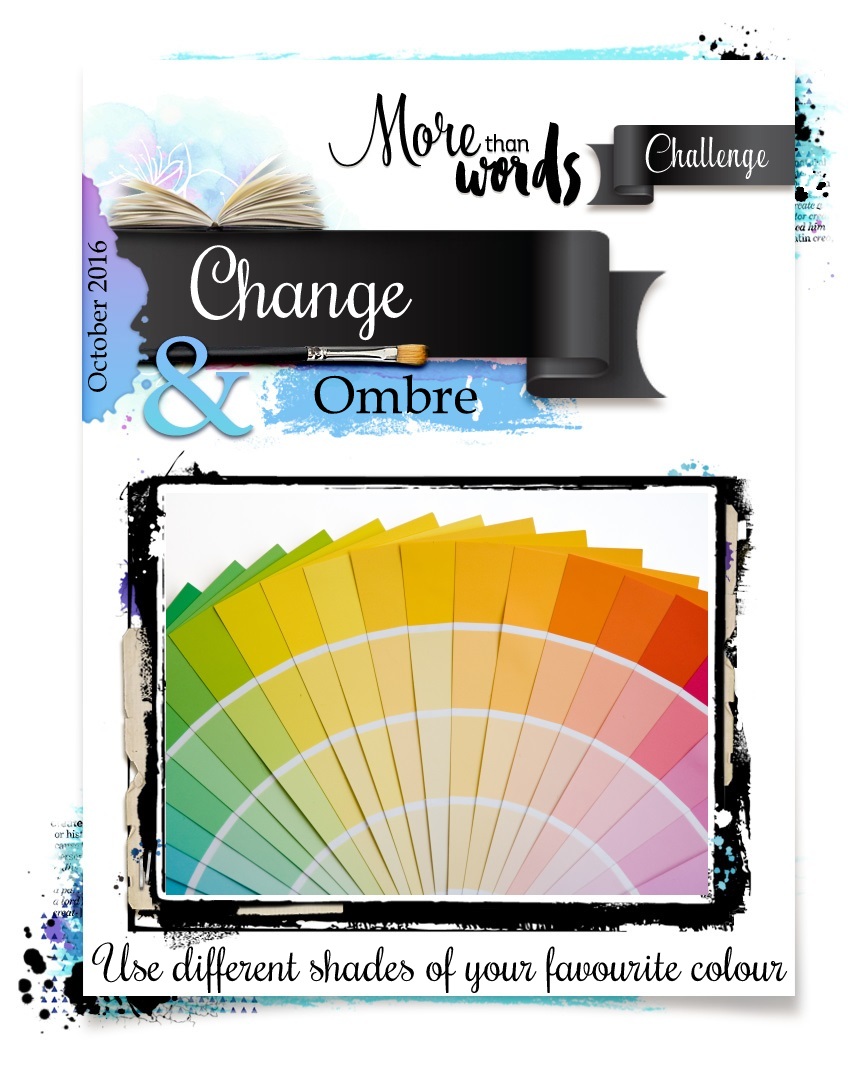
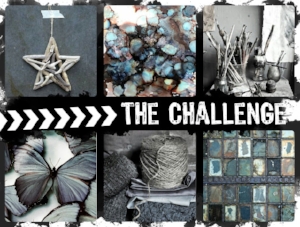
So, I'll be honest, I created this piece after I saw the challenge at More Than Words to create an entry with the prompts Beautiful and Butterfly.  I'd like to enter my piece in that challenge fully knowing I'm bending the rules a bit....However, butterflies and moths ARE from the same family, Lepidoptera ;)  

Go Underdog!

Also, I've just discovered the fun-tastic moodboards at DeeDee Catron's Our Mixed Media Moods.  Their latest board was a great nocturnal inspiration for my project.

And lastly, my favorite little steampunk corner, SanDee & Amelie's. I know my moth with his spring antennae will feel so at home there.


Product List

Prima:  Art Basics Modeling Paste and 3D Gloss Gel; Art Alchemy Métallique Acylic Paint "Steampunk Copper"; Art Ingredients "Bronze" Microbeads and Mélange; Art Extravagance Art Stones and Mini Art Stones; "Cherish" Stencil

Tattered Angels:  Bare Metal "Weathered Copper" Naturally Aged Paint System  

Lindy's Stamp Gang Starburst Sprays:  "Whale Watch Blue", "Frozen Jack Frost"

DecoArt:  Dazzling Metallics Acrylic Paint in "Worn Penny", "Champagne Gold" and "White Pearl"

Folk Art Metallic Acrylic Paint:  "Sequin Black", Color Shift "Black Flash", Brushed Metal "Brushed Gold"

Ranger:  Dylusions "Black Diamond" Stencil; Distress Ink in "Black Soot", "Walnut Stain" and "Vintage Photo"

TCW:  "Mini Netting" Stencil

Weldbond

16" x 8" canvas, white and black gesso, tissue paper, string, felt pads, artificial flowers, cheesecloth, patterned paper, cardboard, tiny hole punch, magnifying glass, wooden birdcage, springs and lightbulb.


Brush Strokes


I love paint brushes!  I have well more than I need and generally pick the same old favorites to create with, while others are simply 'bench warmers'.  One evening, after working many long hours on a canvas and feeling a bit punchy, I gave a third stringer a chance after I thought I heard it say, 'Put me in coach, I'm ready to play'!  Ah yes, everyone loves those uplifting sports stories where the underdog finally gets a shot at the big time, wows the crowd AND gets the girl!  This, however, is not one of those stories... Yes, that's right, this young newbie paintbrush lost it!  Lost it big time, coughing up bristles all over my wet canvas!

Newbie couldn't cut it as a player, but guess what, he got a second chance!  In all his technicolor glory, Newbie became the leading actor in my new canvas, "Brush Strokes"!  Don't you just love happy endings!

I started with applying white gesso to three 4" x 5" mini canvases.  I wanted to build up layers, so I began with modeling paste through stencils, drywall tape and yarn, followed by cardboard, string, thread, cheesecloth and torn pieces of a teabag. I add a little more interest with a script stamp and Sepia Archival ink. Art stones and mini art stones were the last base items added prior to beginning my monochromatic background tones. 

I sprayed, misted and dropped dots of several colors in the the Lindy's Stamp Gang Starburst spray line and in Prima's Color Bloom Spray Mists.  After achieving the color effect I wanted, I set my canvases aside to work on the focal brush.

I often work in monochromatic and neutral tones, but I must say, painting the brush in it's vivid colors was like going to a party:  I need to get out more, color-wise! I started painting the bristles first, those troublemakers I mentioned earlier, and then I worked down the brush handle, merging one color into the next.  I finished by splattering paint on the brush...and myself and my workbench and my stool which I also sat in.  Like I said, it was a Party!

Gluing the brush onto the three prepared canvas secured them together.  I added some accent around the brush with bronze micro beads.  The canvases were then wired onto a metal rack I had picked up at a thrift store.  


Lastly, the final touches:  the letters for the phrase Brush Strokes and two additional 'aged' brushes, all of which, after being altered, were wired to the background rack.

The wood letters were gessoed and triple-emblossed in the following order -  First: clear distress ink and Vintage Photo Distress Embossing Powder; Second: Vintage Photo Distress ink and clear embossing powder; and Third: Black Soot Distress ink and a mix of clear and gold embossing powder.

The two 'aged'  brushes began as brand new, shiny-white dollar store brushes.  I applied white gesso followed by Lindy's Steampunk Sepia Starburst spray and gave the handles a blistered finish with the heat gun.  I dabbed some of my homemade rust paste on the ferrules of the brushes and painted a heavy coat of DecoArt Media's Crackle Glaze onto the handles, leaving it to dry overnight.  The next day, I sandpapered some of the glossy finish off the crackle glaze and coated the brush handles in antiquing cream, wiping off the excess with a soft cloth.  I was happy with the result of the aging process, especially the fabulous deep crackle of these two brushes in contrast to the colorful focal brush - our rising star, "Newbie".

Smiles all!

Leslie

Product List

Prima Art Basics:  Modeling Paste, 3D Gloss Gel; Prima Color Bloom Spray Mists: Frost, Worn Leather; Prima Art Alchemy Acrylic Paint Metalliques: Fresh Orange, Emerald Green, Rusty Red; Prima Art Ingredients: Art Stones, Mini Art Stones, Micro Beads Bronze; Prima Cling Stamp: So Happy Memories with You.

Lindy's Stamp Gang Starburst Sprays: Clam Bake Beige, Steampunk Sepia, Creme Brûlée Creme, Down The Rabbit Hole.

Ranger Dylusion Paint: Fresh Lime, Lemon Zest; Ranger Distress Inks: Clear, Vintage Photo, Black Soot; Ranger Tim Holtz Vintage Photo Distress Embossing Powder; Ranger Dylusions Stencil: Black Diamonds.

DecoArt Media: Crackle Glaze, Raw Umber Antiquing Cream, Titanium White Antiquing Cream

TCW: Mini "Art Is" Stencil

Folk Art Acrylic Color Shift Paint: Pink Flash; Blue Flash

4" x 5" canvases, white gesso, string, thread, yarn, cheesecloth, teabag, wire, paintbrushes, drywall tape, cardboard, metal rack, gold wire, clear embossing powder, gold embossing powder


I will be entering this canvas in the Scrapki-Wyzwaniowo February Challenge - BRUSH! 

I also would like to enter the Stamps & Stencils Challenge: Texture, Crackle and Paint

And lastly, the February Challenge at Creative Embellishments, spreading my love for art!